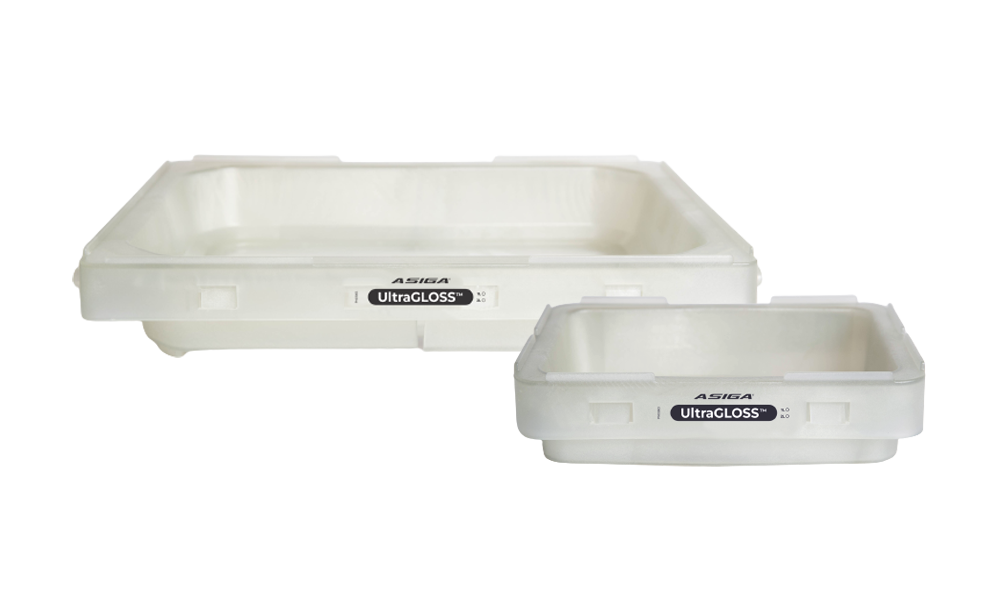
Use the Asiga UltraGLOSS material trays for printing transparent materials without having to polish them. These transparent materials such as Keystone Keyprint Splint soft and hard clear and transparent, but also the Detax Splintmaster, are immediately printed glossy and clear, so manual polishing is no longer necessary.
Printing with the Asiga UltraGLOSS requires some adjustments in the strategy to achieve optimal results. In addition to the Guide materials from Asiga, the UltraGLOSS is also suitable for materials from third parties such as Keystone, detax, Nextdent, Dreve, Por3dure and other materials listed in the Material Library. For any biocompatible material, following post-processing guidelines is important. These are stated in the instructions for use of the material to be used.
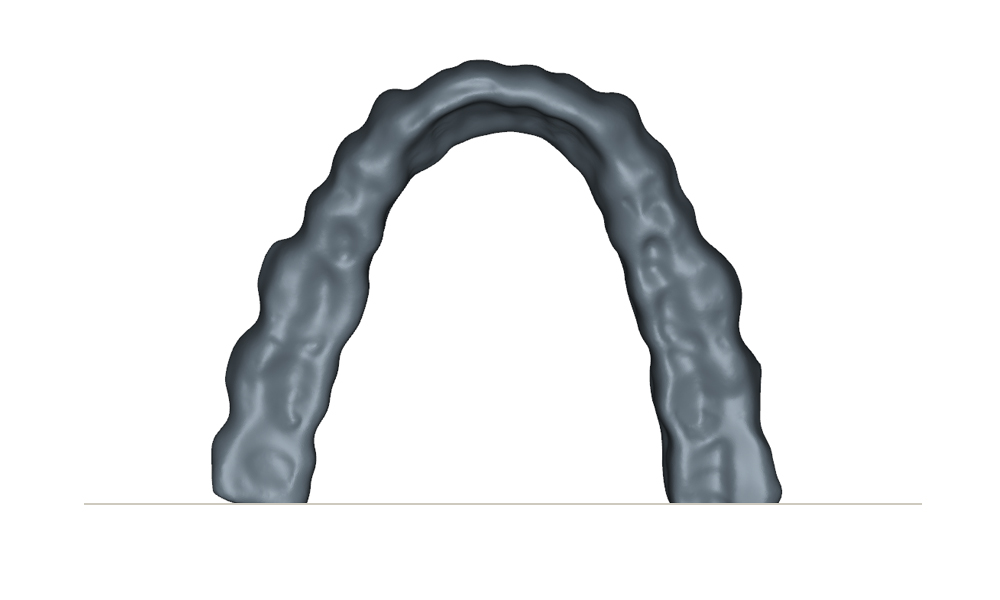
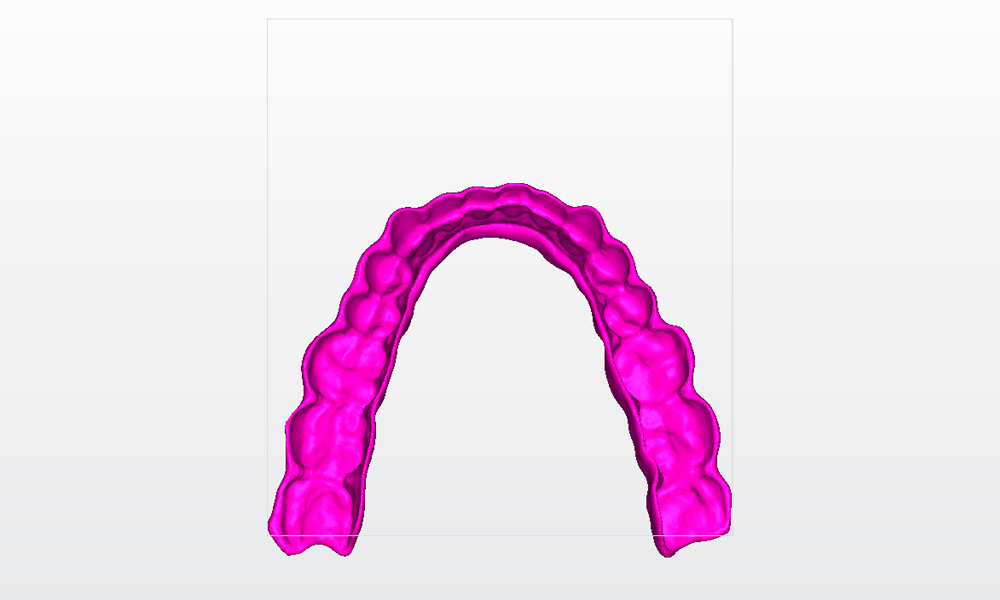
The very suitable applications for the UltraGloss trays are splints, night splints and occlusal splints. The UltraGLOSS can also be used perfectly for printing transparent parts within audiological applications, such as earpieces, shells and cast parts for castings.
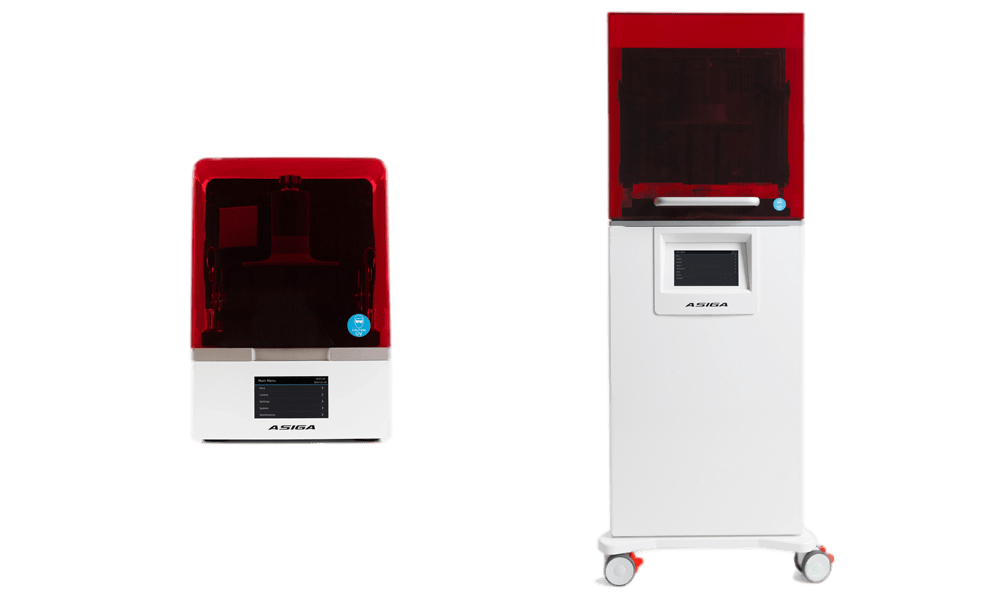
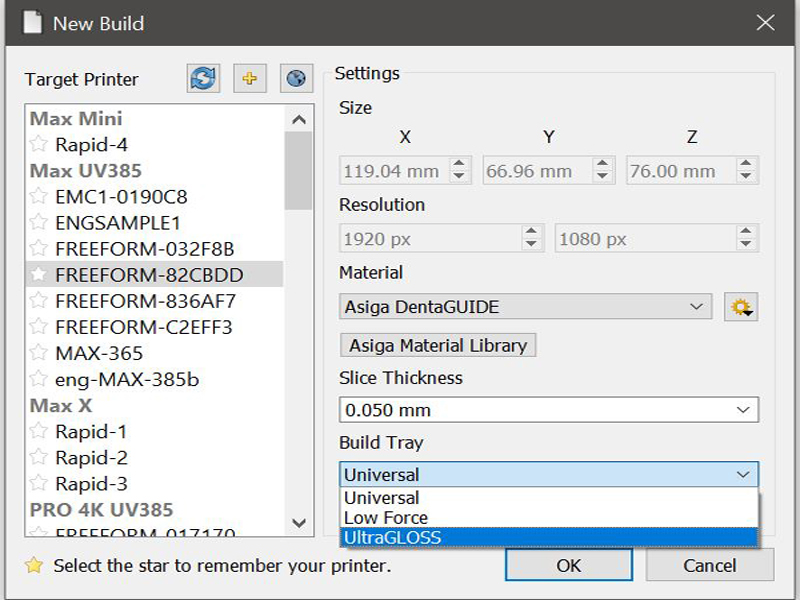
At this time, the trays are only suitable for the following Asiga 3D printers:
- Max, Max
Only available in 1L - Pro4K, Pro4K XL
Only available in 2L
ORIENTATION
This section describes how to properly orient a splint/night guard/splint to reduce support contact points such as buttresses.
By reducing or eliminating supports, finishing time is shortened and you get an optimal glossy result when using the UltraGLOSS trays.

SUPPORTS
By removing or reducing supports, the finishing time is shortened and you get optimal results.
This can be managed in four ways:
- CAD design Option 1 – flush cut
- CAD Design Option 2 – custom support structure
- Composer Option 1 – print platform below
- Composer Option 2 – add sprues/supports
CAD design option 1 – flat cut
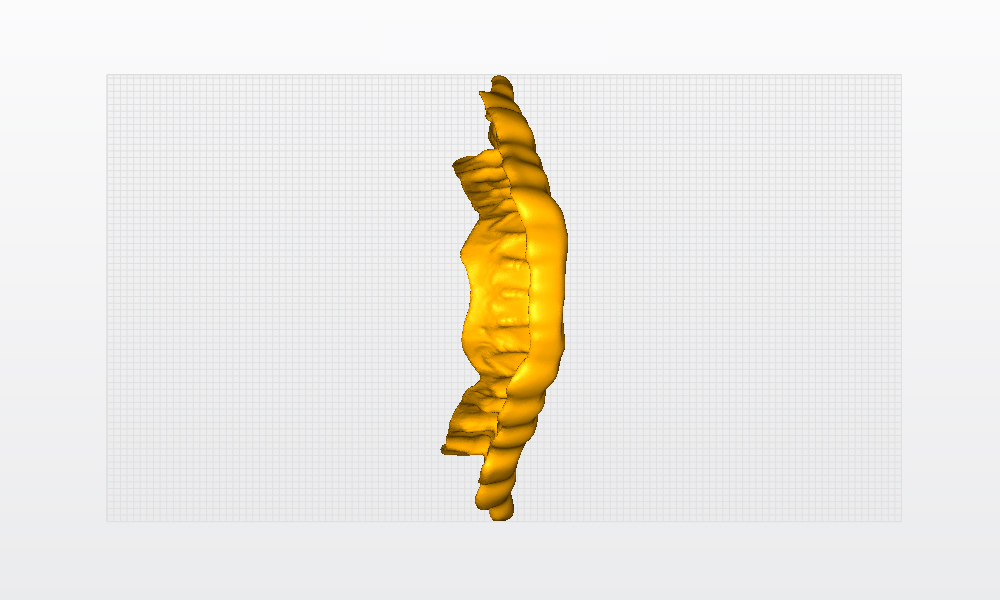
Apply flats to the distal ends of the device. Orient the tool at the angle specified in the Orientation section and make a single flush cut through both ends of the arc.
When the device is then placed from this cutting plane that coincides with the build platform, the device should be at the correct angle.
CAD Design Option 2 – custom support structure
Add a custom support structure to the design before exporting the STL data.
This can also be done in Composer, but there is more control over the geometry of the supports structure if it is designed in the CAD program.
In the example below, sacrificial cubes are placed at both ends of the device.
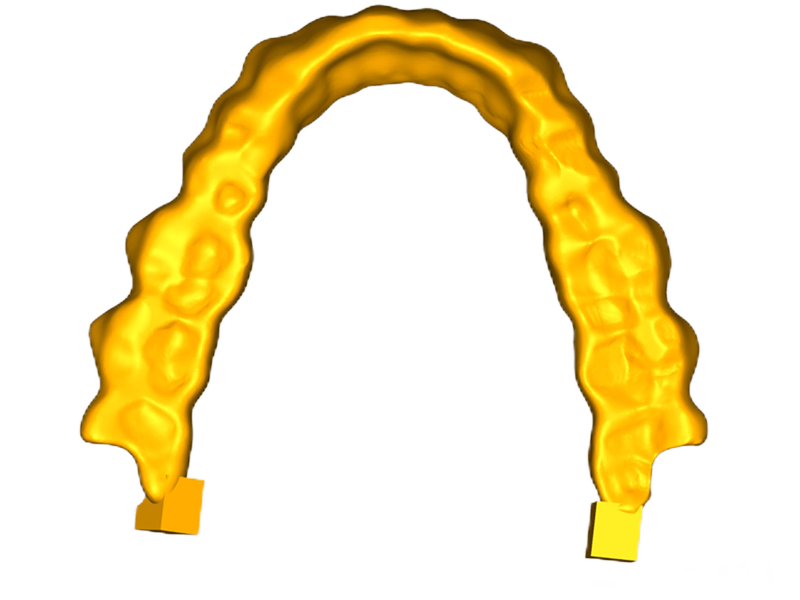
When post-processing the device, it is important to keep the treatment of the glossy surfaces to a minimum.
“Sprues” or supports can help with post-processing because they provide a detail that can be processed. These supporting supports must be removed as a final post-processing step.
Consult Matthias Zimmerer’s case study here ->Asiga Ultra Gloss
Composer Option 1 – print under the build platform
By moving the device below the platform surface or outside the printable area, you can mimic the adjustment made in CAD design option 1.
Orient the device at the angle specified in the Orientation section and place the device on the platform surface.
Select the part and use the transform panel to move the device to -2mm or -3mm in Z.
The Transform panel is located in the lower left corner of the Composer software.
To unhide the transformation panel, navigate to “View > Transformation Panel”.
Important note: Geometry that falls outside the printable area will not be printed, so consideration should be given to whether this will affect the fit of the device.
Composer Option 2 – add sprues/supports
Orient the device at the angle specified in the Orientation section. Then open the Generate Supports dialog box.
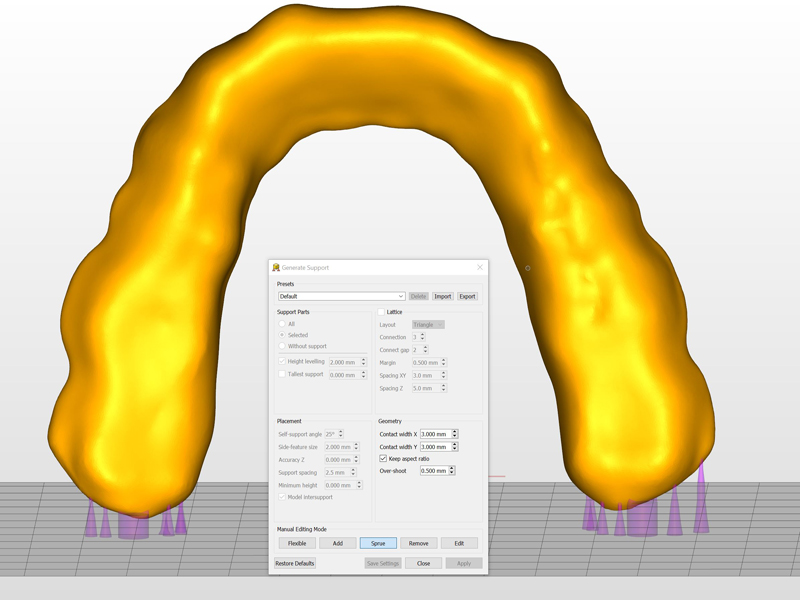
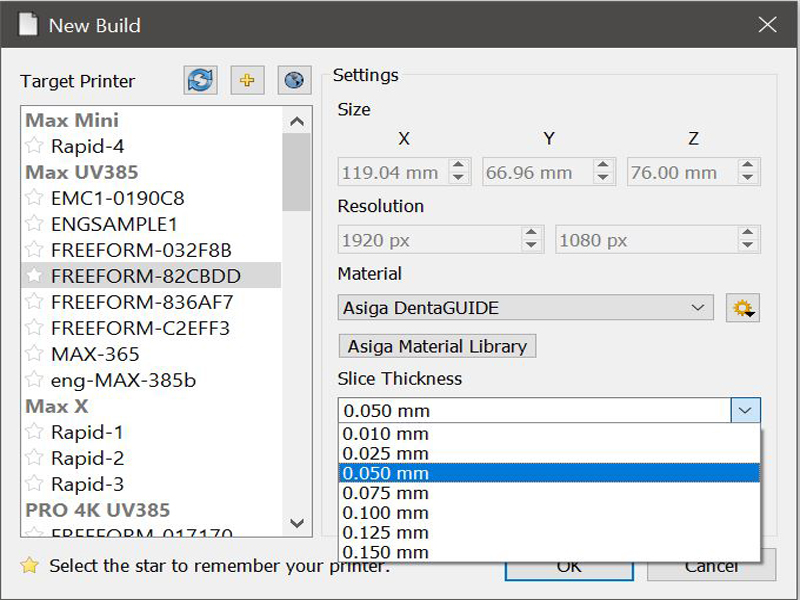
Comparison of printing splints with 50 and 100 micron layer thicknesses:
Here is a comparison image:
Left: printed with 50 micron layers
Right: printed with 100 micron layers
Set up UltraGLOSS™ on your Asiga printer
If your printer was manufactured before May 24, 2023, you will need to update the firmware.
You can download the latest firmware version in your Asiga account online and then upload it to the printer.
Updating the firmware is simple and you can find instructions on how to do it here
1. Place the UltraGLOSS Build Tray into the printer.
Make sure it is clean and free of grease and dirt. If this is a used tray and you are unsure whether dirt is present, we recommend that you clean the tray. Instructions for this can be found here > Asiga Max Clean Build tray
2. Fill material to the specified maximum level.
To wash
Finishing the parts after printing is a crucial step to ensure that the surface of the splint or splint remains glossy.
Follow the finishing instructions as outlined in the material manufacturer’s instructions for use. Follow these steps carefully and also observe the following handling recommendations:
1. Wash – handle the printed splint gently
Try to keep contact with the sprint or splint to a minimum.
Grasp the splint or splint by the sprues/supports, if supports are present, or be careful when touching the surface of the splint or splint during washing as the surface is delicate until fully cured.
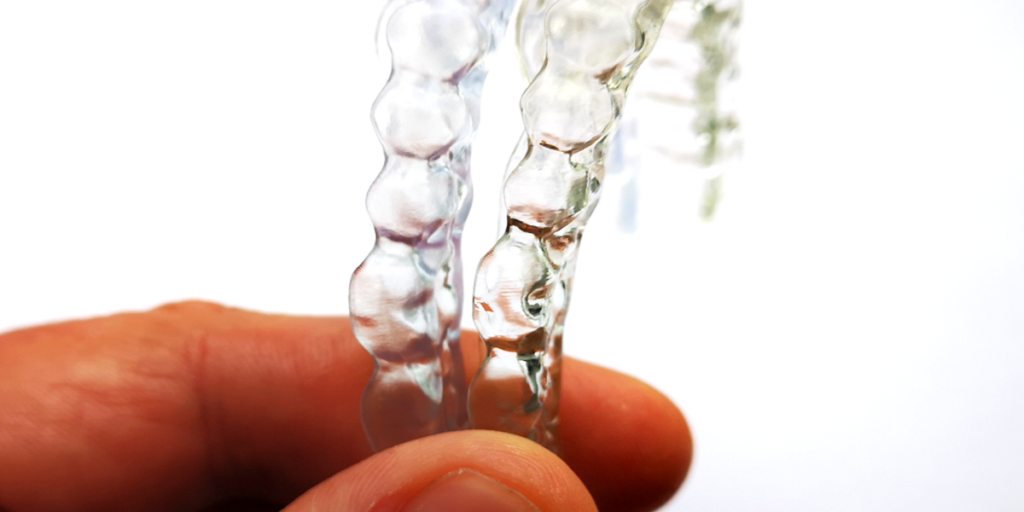
Below is a comparison with two different results after post-processing.
Left – the splint or splint that has been carefully treated
Right – a splint or splint that has been rubbed over the surface during washing
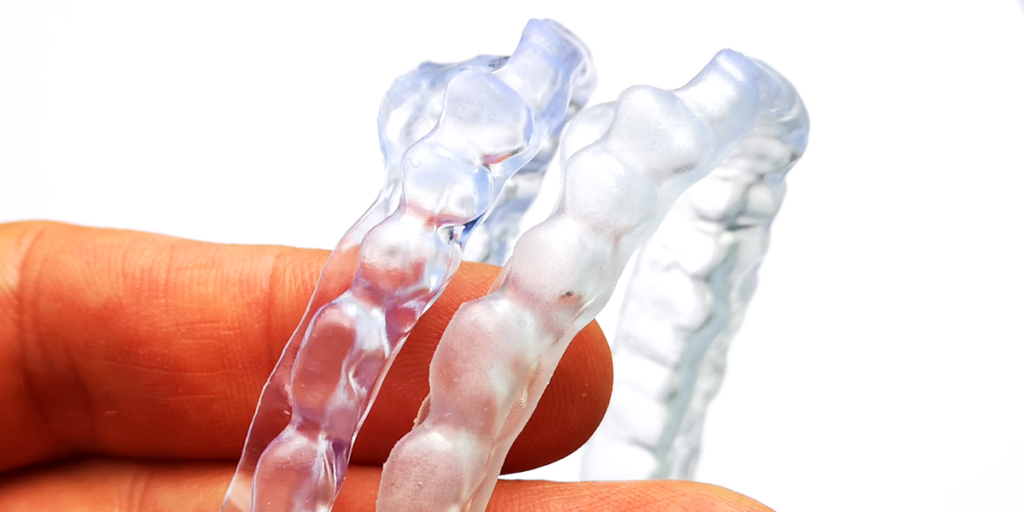
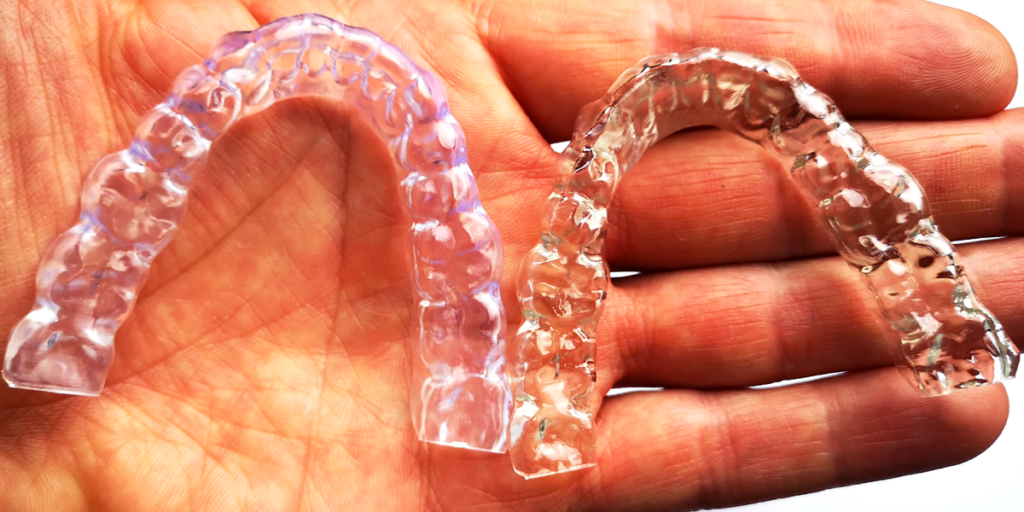
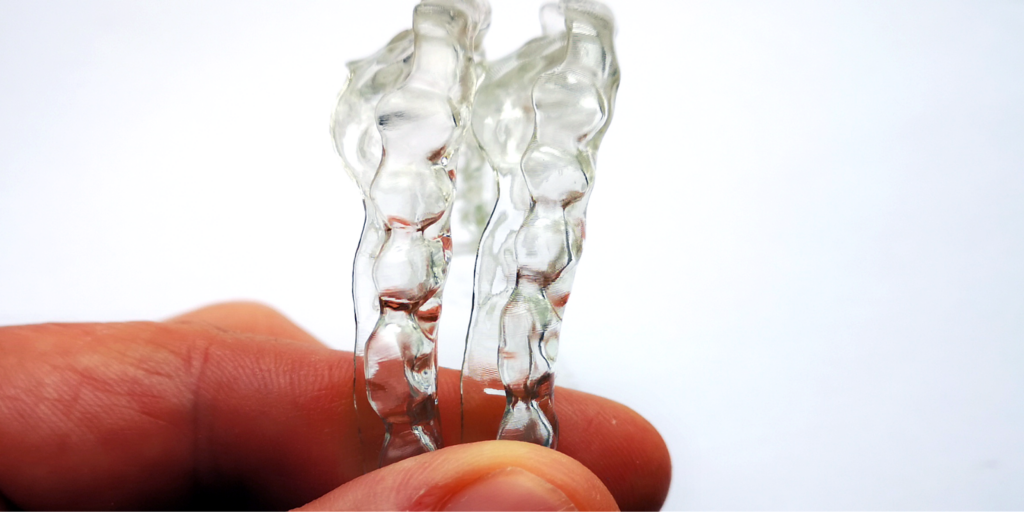
UltraGLOSS™ with different materials!
Different materials have different chemistry and results after processing.
Below are images of two splint materials used with UltraGLOSS building trays.